Tuesday, August 20, 2013

Lighting and draperies

That was a bit difficult to match because I purchased IKEA stylish halogen light for the center, but We couldn't put the same lights over the sink because halogen gets too hot, so it is impossible to hang curtains very close to it.

I spent some time looking for that light and finally found the last glass lamp painted as an imitation of chrome at HD. I also chose a LED light, so it is bright enough but not hot at all.


Then under the top cabinets I went with IKEA dimmable LEDs. A bit expensive at 60$ a lamp but it looks good and is very handy.

For curtains I chose a roller shade in cream color which was sold at Sears, and they cut at the needed size. It looks very modern and suits perfectly the kitchen area. For the seating area I went with warmer bamboo color roman shades from the same store.

Sunday, May 5, 2013

Silicone and caulk

I applied silicone with my fingers, the best way and the easiest to clean. In the corners and around the window frame I used the caulk in Ivory color.

Here are some pictures and you can also see our kitchen cabinets with plastic removed and together with the countertop.

Wednesday, May 1, 2013

Backsplash with grout

I have mixed the unsanded mapei keracolor grout in Ivory colour. I noticed when I mixed there were very thin lines of color every time I was moving the grout with the putty knife. I just kept mixing until I didn't see red and yellow color lines. The grout color was nice. I then grouted a few sections.


It dried in a very nice color. A bit lighter than the sample, but it is matching the countertop nicely. I also purchased silicone 100% for any change of panes and an unsanded caulk in Ivory color from mapei for the inner corner. I think however silicone is the best for around the sink area. Will try caulk and silicone and chose one of them in a couple of days.

Monday, April 22, 2013

Backsplash ceramics with spacers

Here is our new backsplash installed with spacers:


It has taken 2 days so far to have clean cuts and net 1/16 lines. The tile cutter didn't work to cut the long tiles just a bit, so we had to use a saw, which didn't cut straight, but finally was ok since we had only a few full length tiles. For other tiles we used the wet saw which can cut up to 20 inch tiles.

Thursday, April 18, 2013

Backsplash continues

Last week we received our tiles and rented the tile cutter, but found out one third of our tiles were in Almond color, but the rest was in Beige darker color.

The tile store had to replace the order for the right color and my husband finally got the tiles today. In the mean time I had to chose the grout color. From previous experiences I know the grout dries lighter than the samples, at least the non sanded one. When I googled on this, it pulled out numerous threads. I couldn't imagine so many people were agonizing on the grout colors. It is true that it can spoil the overall look significantly.

So, I will be verifying the tiles today, and if everything is ok we will install this coming weekend.

For the grout, the samples look different in the store light. Then the paper samples looked different with the tile. For the tile the best color seemed Mapei Pewter, however the counter and the tiles are in warm brown, natural and cream colors. On my computer screen the best color was Malt matched to the picture of counter and tile. However in the store the sample Malt looked too red. Pewter was really grey, so I decided on Ivory which is sort of grey and tan. Will see how it works. We will only have e few grout lines in 1/16 inch which is very narrow.

When we changed the floor in our powder room i purchased Moisson color 06 it it was too light as compared to our tiles. We just sealed it. It is not a good idea a light color on the floor, but the samples were pretty dark. Will see how Ivory works. In any case there are now grout coloring sealers and also enhancers.

Friday, April 5, 2013

Backsplash

I returned to the tile store today and brought home more samples in addition to the two previous ones we loved in the past.


In the mate tiles 4x19 I like the most the tan color. And Feng Shui elongated subway tiles also have a nice match in taupe color. In the WBT high gloss tile by Soligo Ambiente the Almond and the Light Mocha look good also with our counter.

Still love WBT tiles shape and size. Will most probably do WBT Almond with darker grout. I am pretty much decided on stacked pattern to keep the style of the entire kitchen.

Here is a link to Soligo Ambiente site with design ideas:

Soligo Ambiente

Wednesday, April 3, 2013

Quartz counter

Today they came from Summum Granit to install our new counter by Hanstone in Bavaria color. It looks gorgeous. I find very difficult to photograph the quartz. It looks so much better in person. I photographed many samples at the store, but where the crystals are transparent and places with no crystals show up strangely on the pictures. I was scared brown color would be dominant, but the result is very nice natural color mix. It has browns, khaki, cream and black pieces and looks very much as a granite counter with grains. Also, I didn't have to have a border backsplash, and they managed to cut the plates to the wall, even though walls are not straight. There is a very little space between the wall and the counter. Here are more pictures with the counter and the floor, and one general view.

Thursday, March 7, 2013

Faucet and sink

Our faucet is from Rona is the uberhaus model and the sink is by Kohler Vault model.

Wednesday, March 6, 2013

Installing IKEA cabinets and backsplash ideas

IKEA cabinets have adjustable legs to help leveling them. This sounds nice, but in practice we found at least two places where the legs were impossible to use. When we installed the big pantry in a tight space We broke a leg, but finally had to build our own frame to make the cabinet sit in a solid way. It is a 24 inch wide, 24 inch deep and 88 inch high pantry not including the legs. We had to slide it in the existing space between 2 walls. It was a pain to turn it up after assembling, and my husband and his father found it hard. With a fixed base it went much faster and the leveling was easier too. I assembled all drawers and we installed the door together. The other place we can't use the legs is the peninsula. Along the wall cabinets are attached to the wall, or as we did, to a wood piece attached to the wall to make it solid. However the peninsula is only attached to a wall a one end. We have to build a wooden base for a peninsula, then level the rest of cabinets to those of the peninsula which are fixed. I ordered the counter and they will come in less than 2 weeks for measurements. In the mean time we can finish assembling cabinets and leveling them. While my husband was building the base, passing cables for TV and Internet and finishing the drywall for backsplash, I went to a tile store for a ceramic for our backsplash. I spent a few hours on Internet looking for backsplash ideas. And it is a difficult piece to select. I had in mind simple subway tile with darker grout. I then found modern flat elongated subway tiles installed in stacked way. I spent a couple hours at the tile store and found this type of tile, which is awesome in glossy finish. We however already have glossy cabinets and the quartz will be glossy. But the style of these tiles is so beautiful, I brought samples home. I had selected two tiles from Soligo Ambiente: one in almond and the other in beige colors. Beige color is nice with the counter which has quartz pieces in that color, and almond is exactly matching the cabinets, so may be not that exciting, but we can play with grout colors to enhance design. Using 1/16 inch spacers would be a good idea too. I also liked at the store two other ceramics: one in cream with tiny tears which made some shine reflection and another one in cream with beige and brown bamboo style tile. The latest could be nice installed with aluminum profile line as an accent. Here is an example from Porcelanosa site: All choices are sort of glossy, but some more than others. But really all together looks good because of the style. We consulted with our friends who have families and all agreed the glossy materials are great to keep clean. At first I had in mind matte tiles, but couldn't find anything I liked. But all our family just loved Soligo Ambiente tiles and they look also nice with soft LEDs light. Anyway I will be waiting for the counter to be installed, then I will bring back samples.

Cabinet and pipes installation

Our original plan was to keep pipes and extend by a few inches, but when my husband removed the cabinets the return pipe just fell out. The bad news our pipes even return are copper. So he would need to solder right stuck to the drywall. The good news pipes are copper. Once you solder them, they will last for a very long time. He managed to solder them and had to redo the dish washer machine pipes as well as they were quickly installed through the front of cabinets. This was ok as long as our base cabinets had frames, but frame-less cabinets would show these pipes.

Cabinets and lights

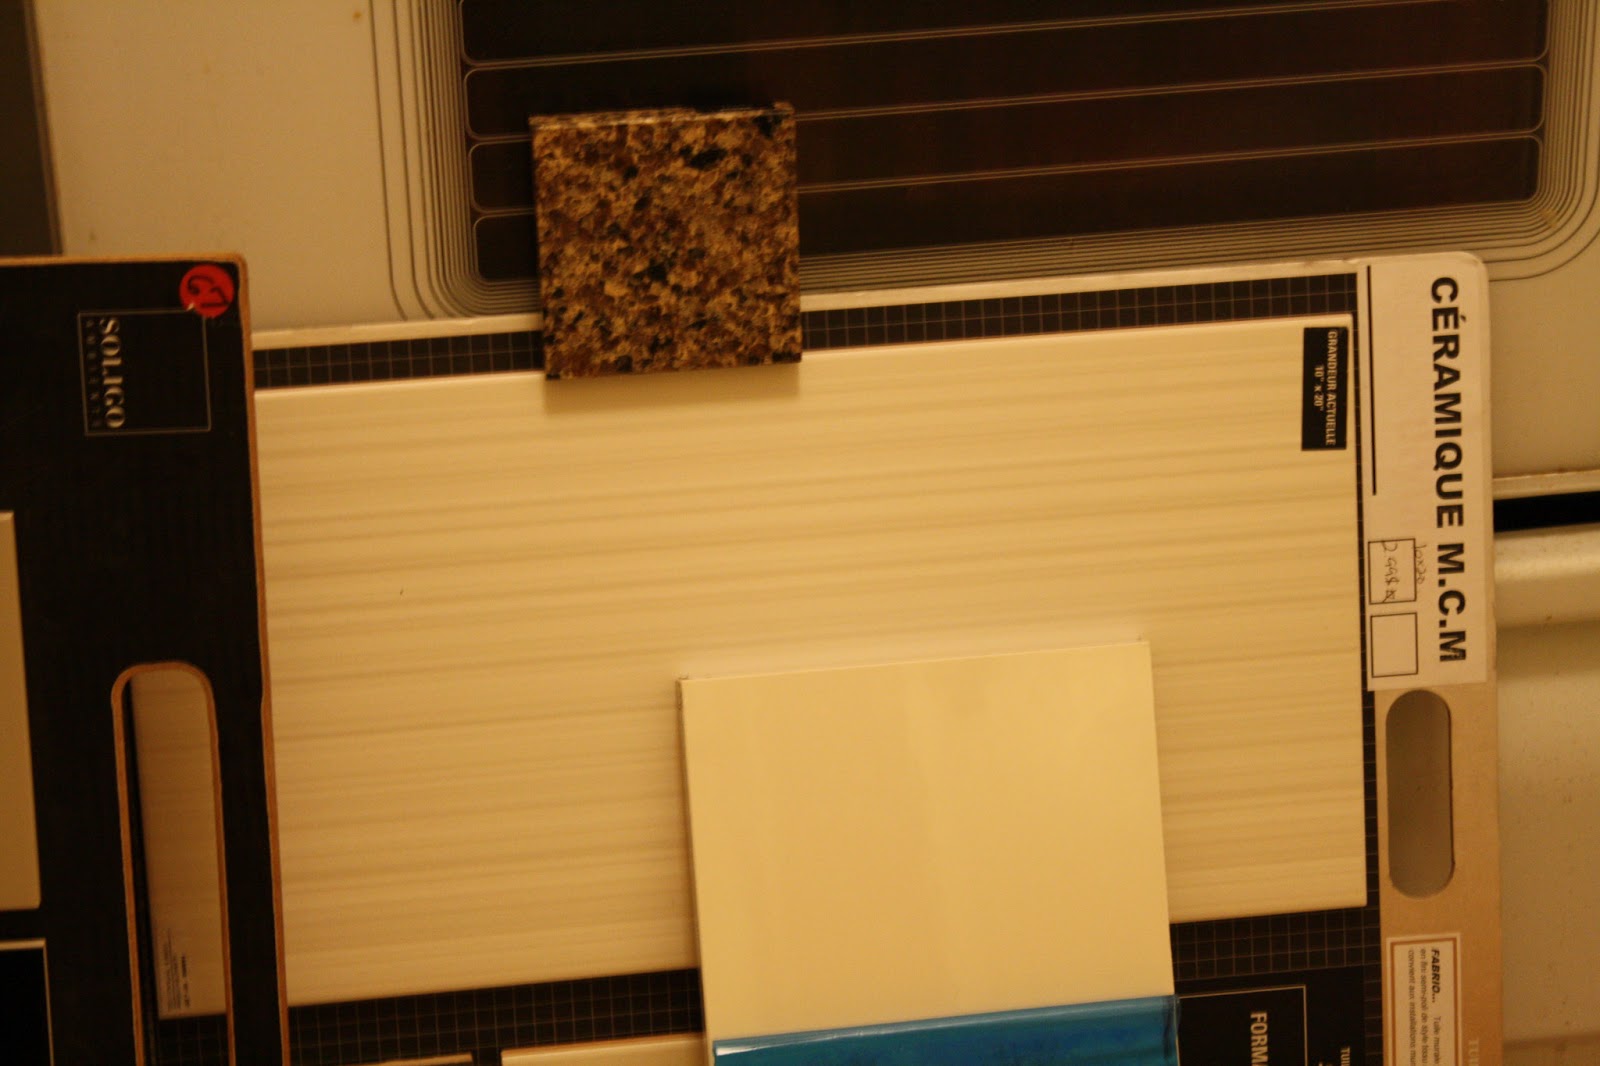
I always liked IKEA kitchens, however I didn't see so far a perfect style for me. When they brought new colors of Abstrakt model I was just delighted. Our choice is Cream high gloss kitchen with black Rubik glass doors for glass top cabinet. We ran into some complications however. IKEA furniture can't be hanging from ceiling, and I didn't want to lose the hanging units over the peninsula. They provide a lot of storage and we need it. This type of unit would cost a fortune to rebuild. Also, since my kitchen is not in a living room, and we have enough room for a table and chairs there, we have no need for open concept fashionable style. I have to say I dislike very much this open concept fashion because I don't see how someone could do serious cooking in a living room. Greasy dust would be everywhere. I also like a bigger kitchen where we can sit and have our meal. There is enough room for a TV and entertainment. We still have a dining room for special occasions and guests. I was watching a TV show on people purchasing property and one girl disliked very much a kitchen in the living room. Then the seller wanted to pressure her saying this was fashion, but like me she just said it was a way to sell you a smaller place for a bigger price. Yes, it is fashion, but fashions do pass. My priorities are functionality (being practical) and needs first, then nice, and in very last concern to please others with my choices. I understand however others could have different needs, and so, their choices could be different. I am not following fashions, but rather like timeless things, since I keep them for a long time. This Abstrakt model is easy to keep clean, as it doesn't have ridges nor relief on it as our old wooden kitchen had. I really didn't hate our old kitchen, but after more than 40 years, and several painting attempts it was still very hard to keep clean. 
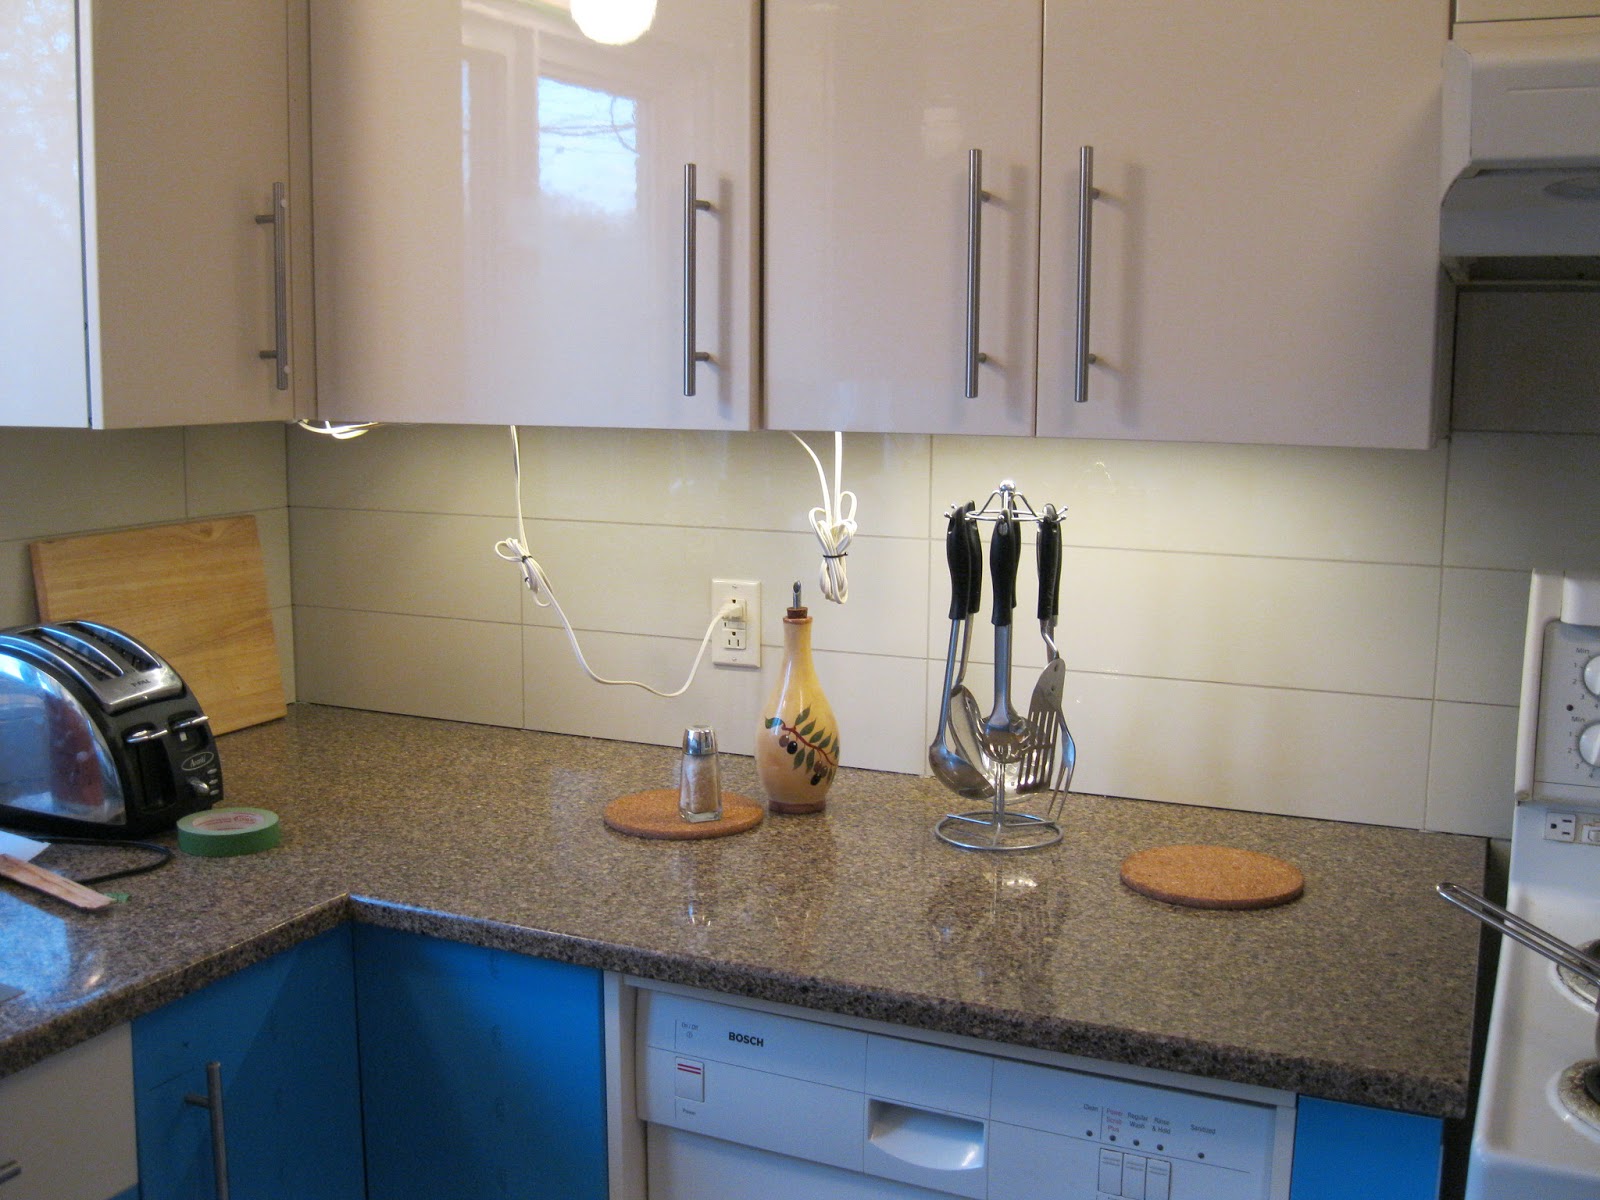
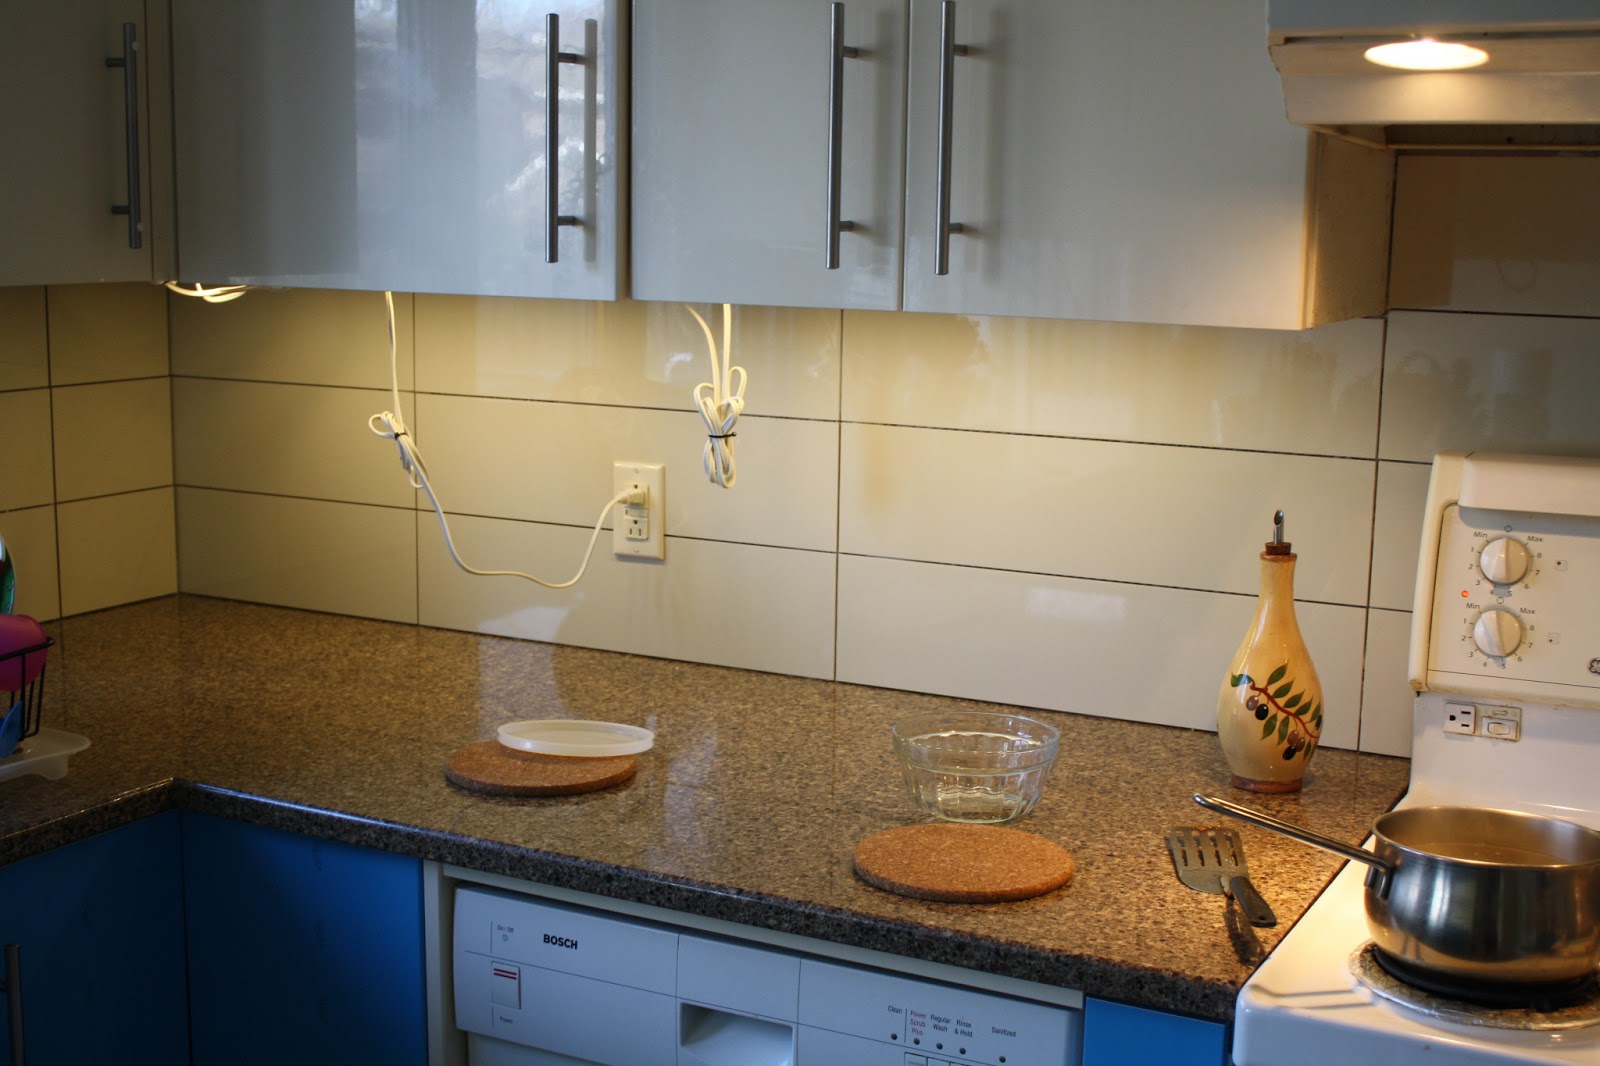
Anyway we had to keep our top units. Also we have soffits in our house, but they are used for central heating and can't be eliminated. So, I couldn't build the upper cabinets to the ceiling. Oh well. So it is basically a combination of preferences and constraints. But I didn't really particularly liked IKEA corner units on top cabinets, and since we couldn't go higher, we kept the old cabinets, which we refaced with IKEA doors. Now, this is not that easy, and we needed to buy Bloom brackets, which by the way fit IKEA doors with little adjustments, as they also make IKEA brackets. I also purchased a very nice self stick white vinyl liners to cover the shelves, and we painted existing cabinets same color as the IKEA furniture. So the result is nice. 
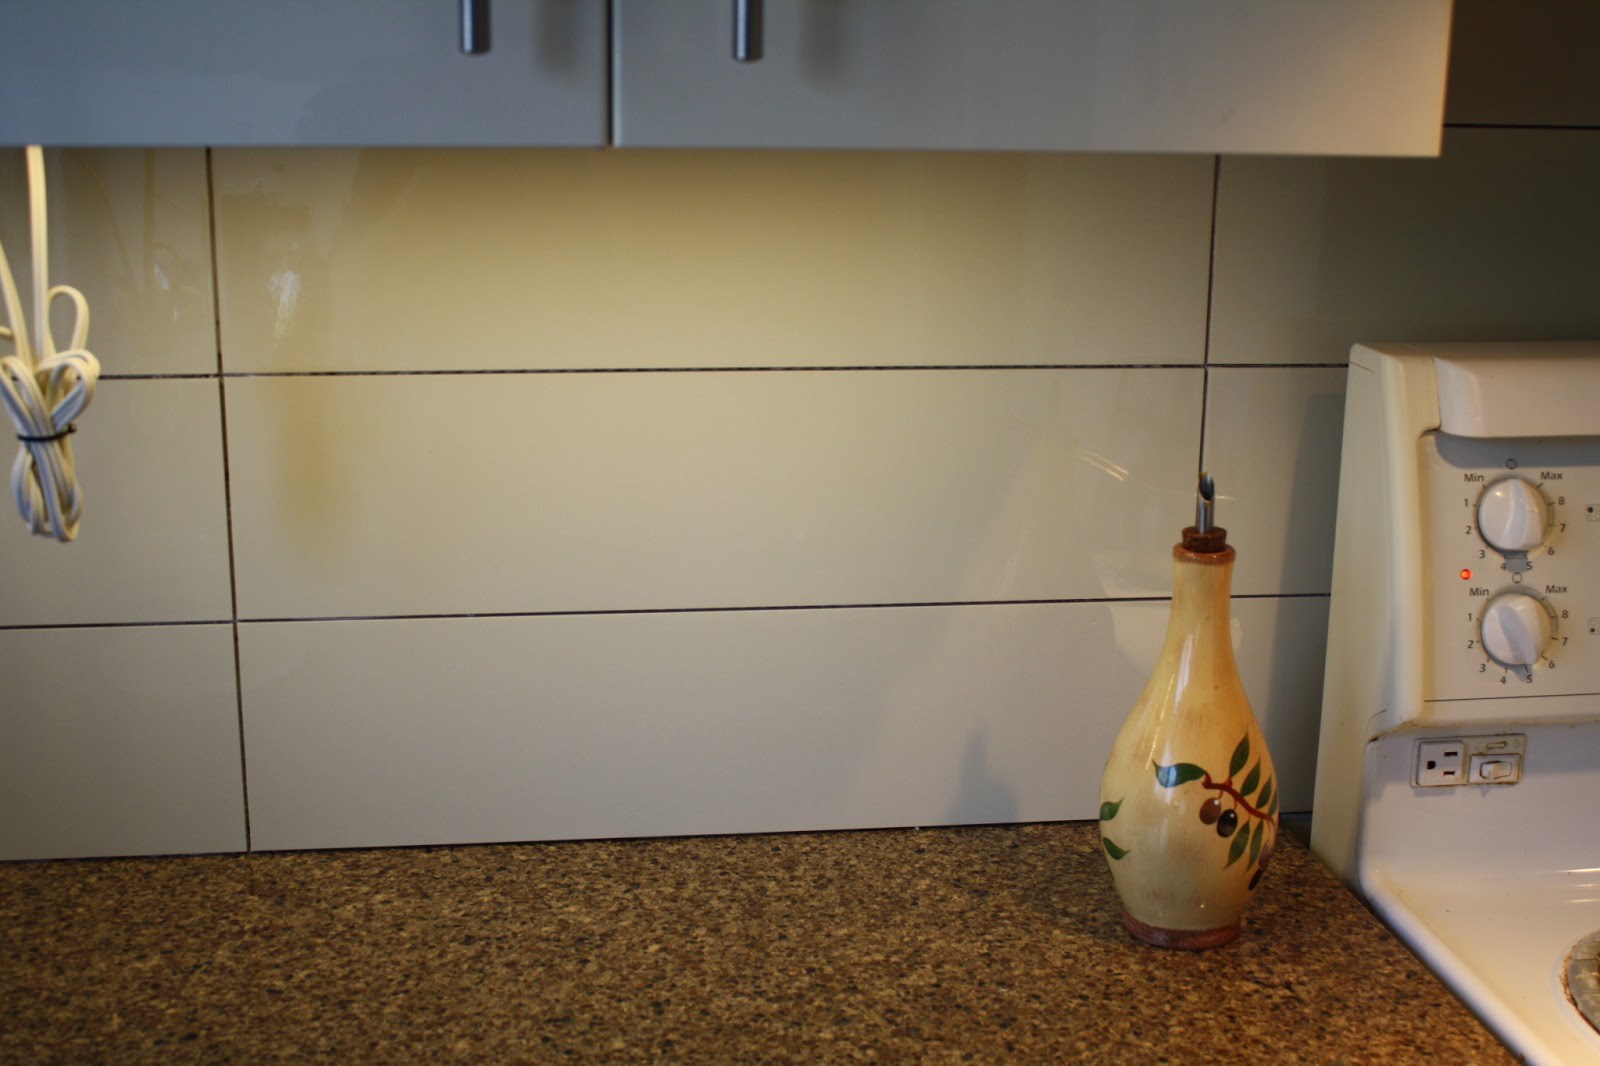
My husband suffered quite a bit with adapting brackets since each cabinet is non standard and has frames, and we wanted a frame less look. The result was nice, but everything got spoiled by the wooden finish to the soffit. He was really discouraged when I asked him to remove the strip. Since the existing material wouldn't have fitted there or would have given a heavy look (we tried), I started imagining something with unconventional finishing materials. I chose to use the aluminum profile used for ceramics borders. When we tried it, it was very nice and actually matched the handles. Then my husband arrived with a very nice idea of mounting LEDs lights under that aluminum strip, and finally is looks awesome. We chose soft light LEDs sold in rolls from electronic store. It is even possible to add a LED light dimmer if you want to get really nice results. The bottom cabinets and the pantries are from IKEA. I chose all bottom cabinets except under sink to have drawers. One of the pantries is in a corner and is deep, however it doesn't have enough room on the side for a door, so we had to go with a pull out model to the ceiling, as there is no soffit. My husband also extended LEDs to inside the pantry. The second pantry will be shallow 12inch. We also created a unit on top of the refrigerator and up to the ceiling with a 24 inch deep cabinet we built ourselves with wood and using a IKEA door that we cut on a side and a set of pull up Blum brackets. These brackets cost more than the cabinet itself, but made that unused space very usable. I added inside a slide out Glidez deep shelf that can completely slide out.

Wednesday, February 27, 2013

Cabinet and countertop choices

For the cabinets it was easy when I saw the new IKEA collection. Abstrakt creme glossy one with glass upper cabinet in black Rubrik. The countertop was a bit more complicated, but our family decided on Hanstone Bavaria to remain in warm colors. I also liked Silestone in Sienna Ridge, but it was a special order and was 1.5k more expensive. My husband loved English Toffee very much, but it was a more uniform color and we didn't want to see the joints. It was difficult to get a really nice picture of the quartz, but here they are: I then brought samples home and all including our son selected Bavaria by Hanstone.

Floor

I went to specialized stores, but finally, we found the perfect for us floor at HomeDepot. Our choice was Trafficmaster Ceramica in Pearl Grey which looked fantastic installed with grout. These are peel and stick groutable LVT luxury vinyl Tiles. As a grout I used SimpleGrout from HD in sandstone color. We had a sheet linoleum floor with particle board underlayment. So we decided to rip it off. Since we were doing the renovations during winter months, we sprayed with water as much as possible to prevent any dust in the air. Finally it wasn't bad at all and we didn't have much dust. Under the linoleum there were a thin plywood and under that the particle board and under under several layers of linoleum. But it broke when we removed so we could see many generations of linoleum floor in horrible colors. My husband has taken a week off to remove all an lay down the new plywood. The new plywood was repaired with plastic wood patch and we used Armstrong primer product to prepare the floor for the tile. This is a recommended underlayment for these tiles. As for the tile laying, the longest was to place tiles to create a pattern, although tiles were placed in a certain order. After that I sat on the floor and using 1/8" spacers peeled and stuck tiles one by one. We kept them inside of our house for some time where they were stored. The glue was good and gripped to the prepared plywood. After 24 hours, I grouted the tiles with SimpleGrout premixed in sandstone color. This grout dries very quickly, so I did a few tiles at the time and ensured to wash with a sponge, then a cloth and then the tiles themselves with scotttowell paper, so the tiles remained clean. I finished the half of out kitchen on same morning. Here are some pictures of my work progress: The final result looks gorgeous. In fact everyone thinks it is a ceramic tile. At the store they thought it was really heavy and were cautious not to break it before I told them it was lvt. I also used Aquamix grout sealer to protect the grout and it takes very little sealer to protect this grout. I used a small bottle with brush purchased for about 3$ with Aquamix sealer. It was easy to apply and sealed well the grout after 1 application.